Crochet a basic easy cardigan oversized*
So this was my first ever cardigan I crocheted and oh my God, I went through a lot of doubts and was convinced that I will never be able to finish it and get it right, but at the end I was so happy with the result and so proud of my self to be doing such a thing.
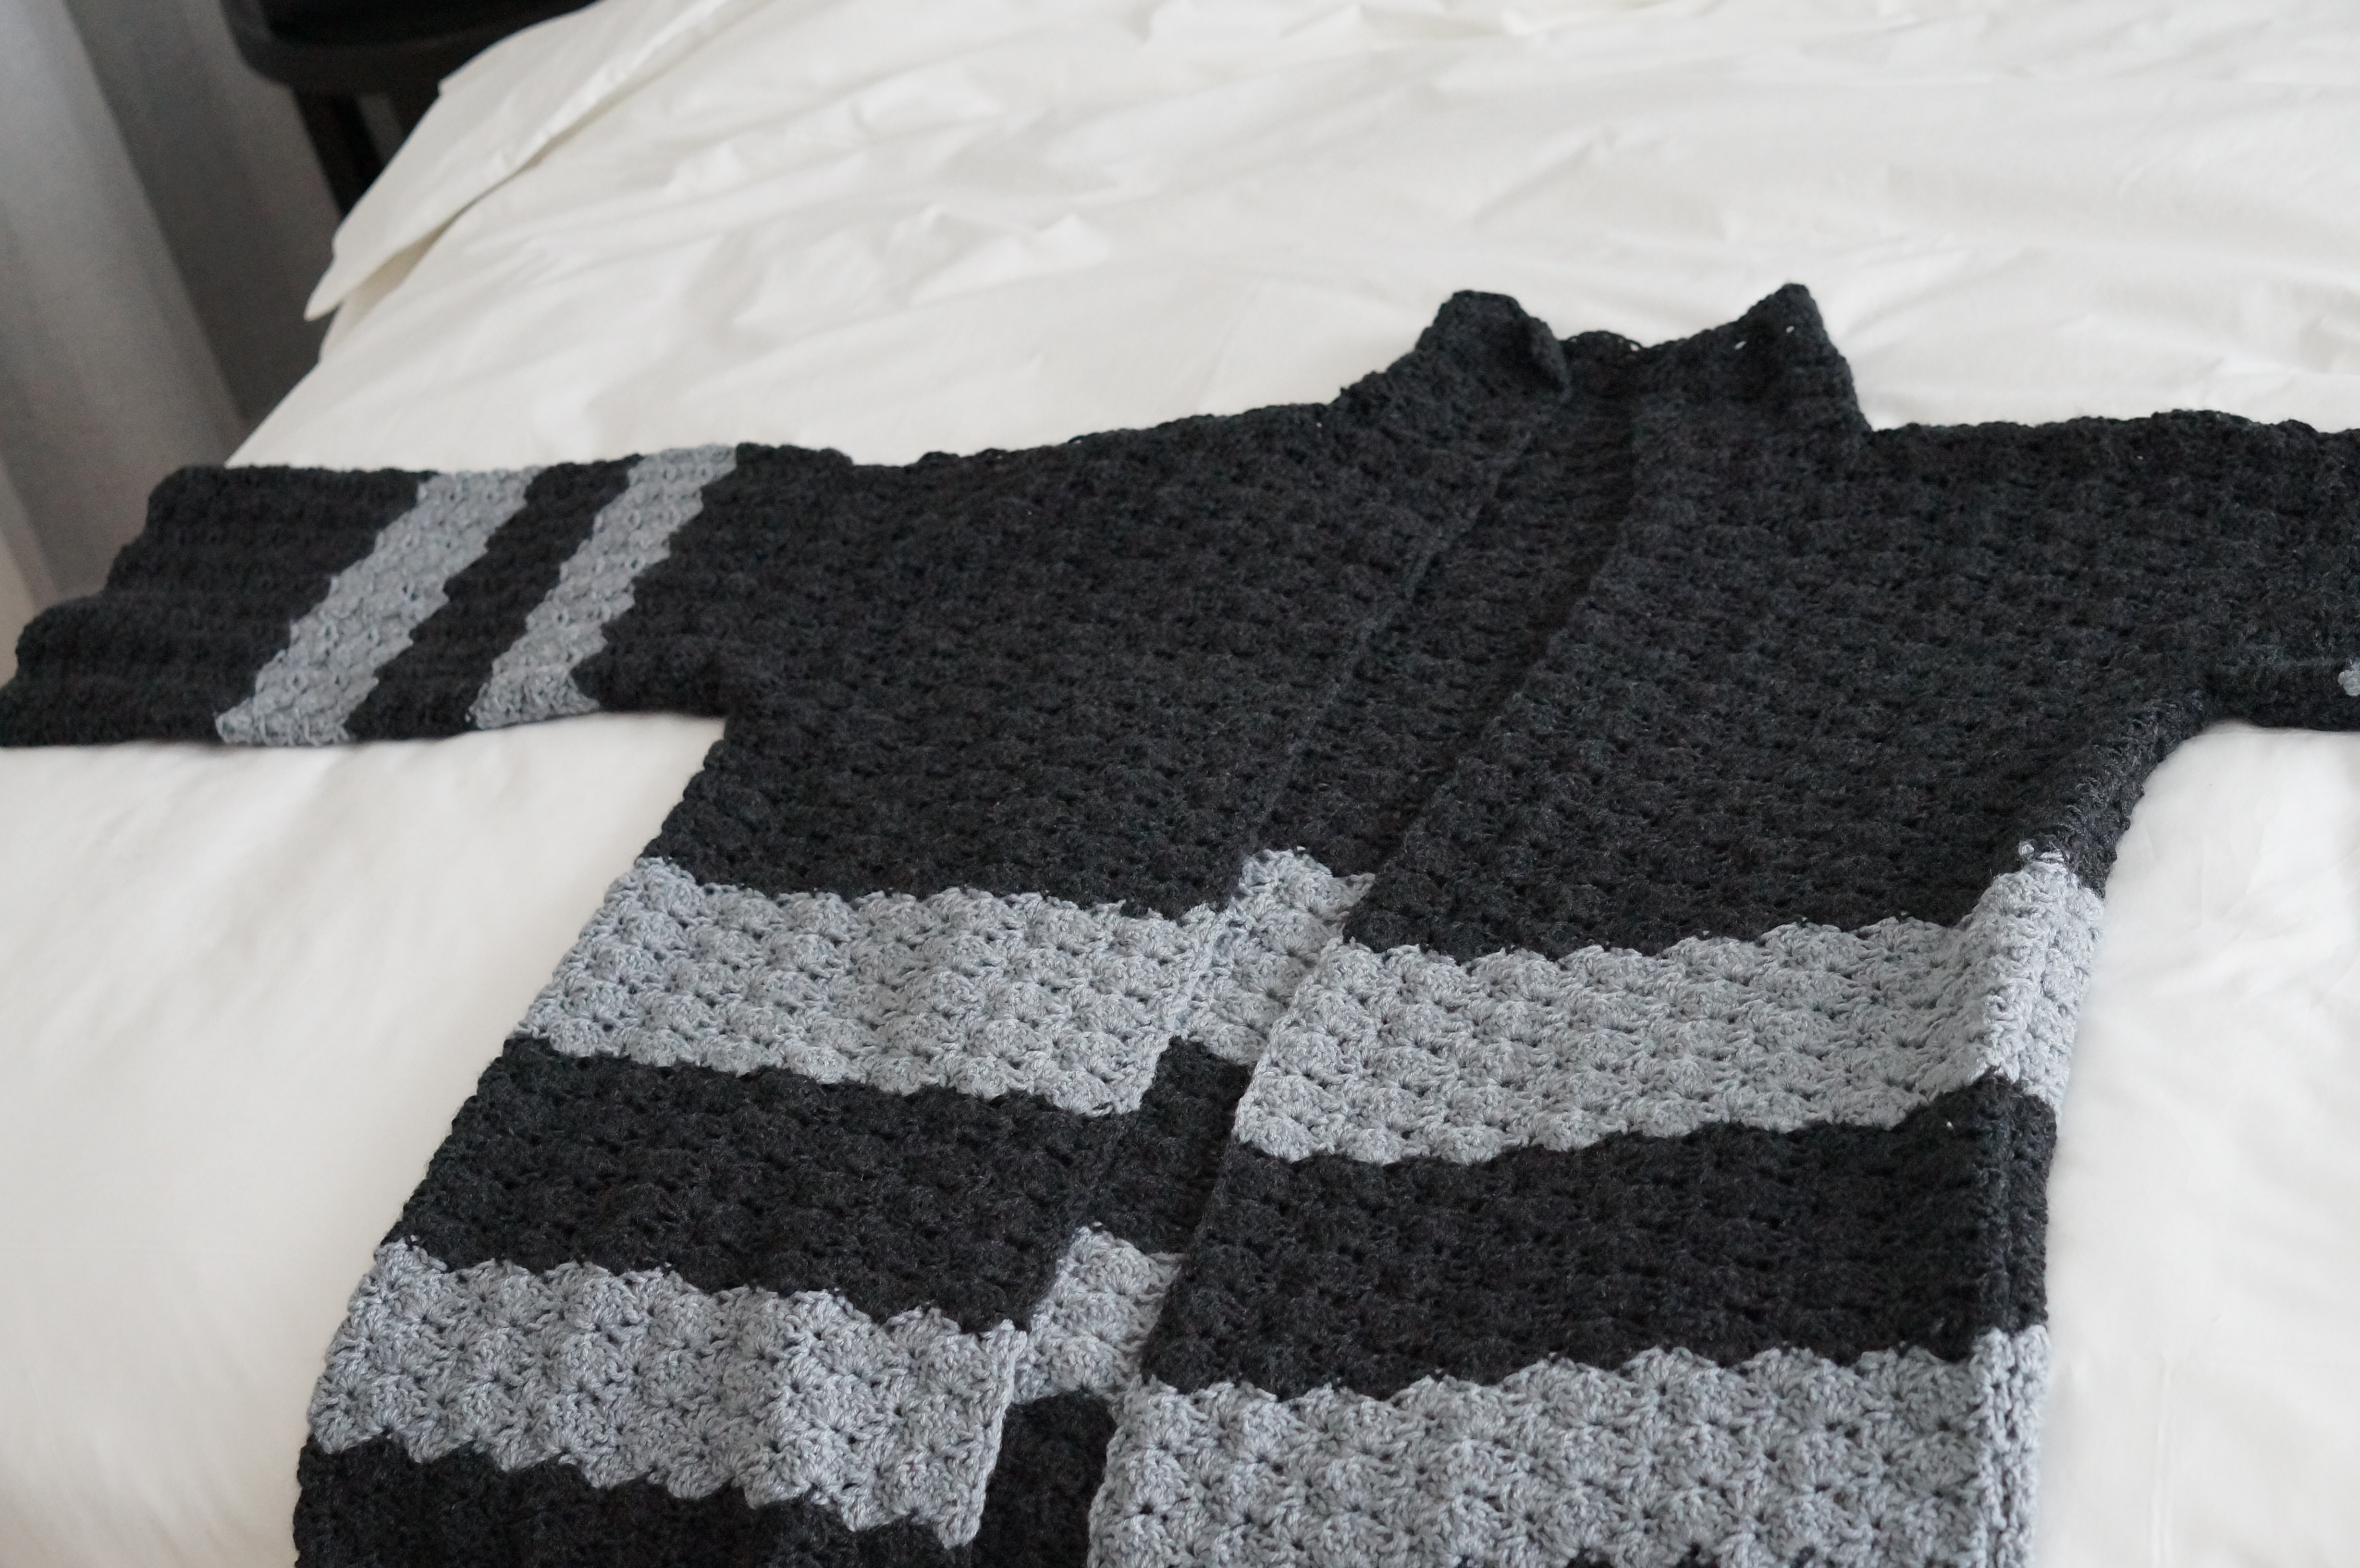
It was actually more of oversized coat than a cardigan, the yarn quality is amazing and the feel is soft and luxurious. I love the color combination for both as I naturally love grey and charcoal colors.
You can choose whichever color you wish and you like, the yarn is a must try.
I have worn this cardigan so much and it's still like new.
I have tried to explain as much as I could however feel free to drop any questions if you need :)


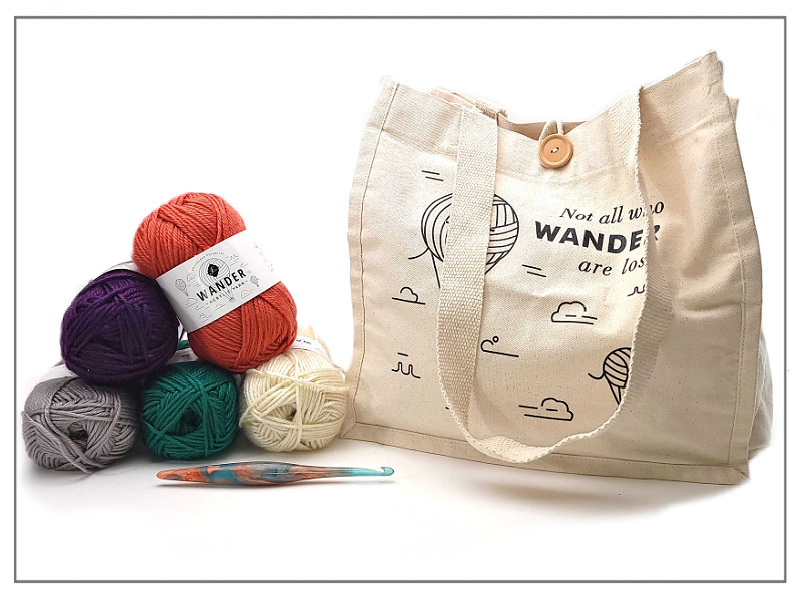
Materials:
3 balls of pound of love Charcoal
Notes:
There are 5 separate pieces
Back ch 90
2 Front sides each: ch 45
2Arms : ch 50
for all pieces, make first charcoal color: 10 rows, changing to light gray, make 12 rows, third color change 10 followed by 10 light grey and last charcoal color 20 rows till you reach the collar.
Same color chart for both front pieces
For both arms:
Again From bottom up, 6 rows of charcoal, 4 rows of light grey, 4 rows of charcoal, 4 rows of light grey and 3 last rows of charcoal( this is the attachment side).
Written Pattern:
Ch the required number depending on which piece you are starting,
Working from the bottom up
Row 1: 1sc in the 2nd ch from the hook, sk 2, 5 dc in the next st, sk2, 1 sc in the next st, repeat(sk2, 5dc, sk2, 1sc) till the end of the row, the last st should be a sc.
Row 2: ch3, 2 dc in the same st as ch 3, sk 2, sc in the next st, sk 2, 5 dc in the next st, repeat (sk2, 1sc in the next st, sk 2, 5dc in the next st) till the end of the row, 3 dc in the last st.
Row 3: ch1, 1sc in the same st, sk2, 5 dc in the next st, sk 2, 1sc in the next st, repeat.
alternate row 2 and 3 till the end of your work.
Start sewing the back side with the front sides together, leaving an opening for the arms to sew around .
Then folding one arm start sewing from the side and going down to close the arm.
For the collar, make a magic loop and join it to the upper front side of the coat, start working the scallop stitch like in the initial pattern from side to side for 3 rows, fasten off.


Comments
Post a Comment