How to crochet half circle, written pattern
So I had to adjust this post as some of you did not like how it was, now you'll find the pattern all together below and here are the pictures explaining how to make the half circle.
You can always make a shawl out of this pattern or half circles blanket, even better, fruit slices like watermelon blanket, I'm giving you ideas ! right :)
The choice of yarn will be yours and of course the crochet hook is whichever recommended in the yarn ball label, of course you can always use half size or one size up if you want your project to be lighter in weight, faster to finish :)
one more thing, find the video tutorial now at the end of this post, for left handed people and also right handed.
Happy crochet!!


Instant pattern download 4 $
Favorite Yarn:


Written pattern:
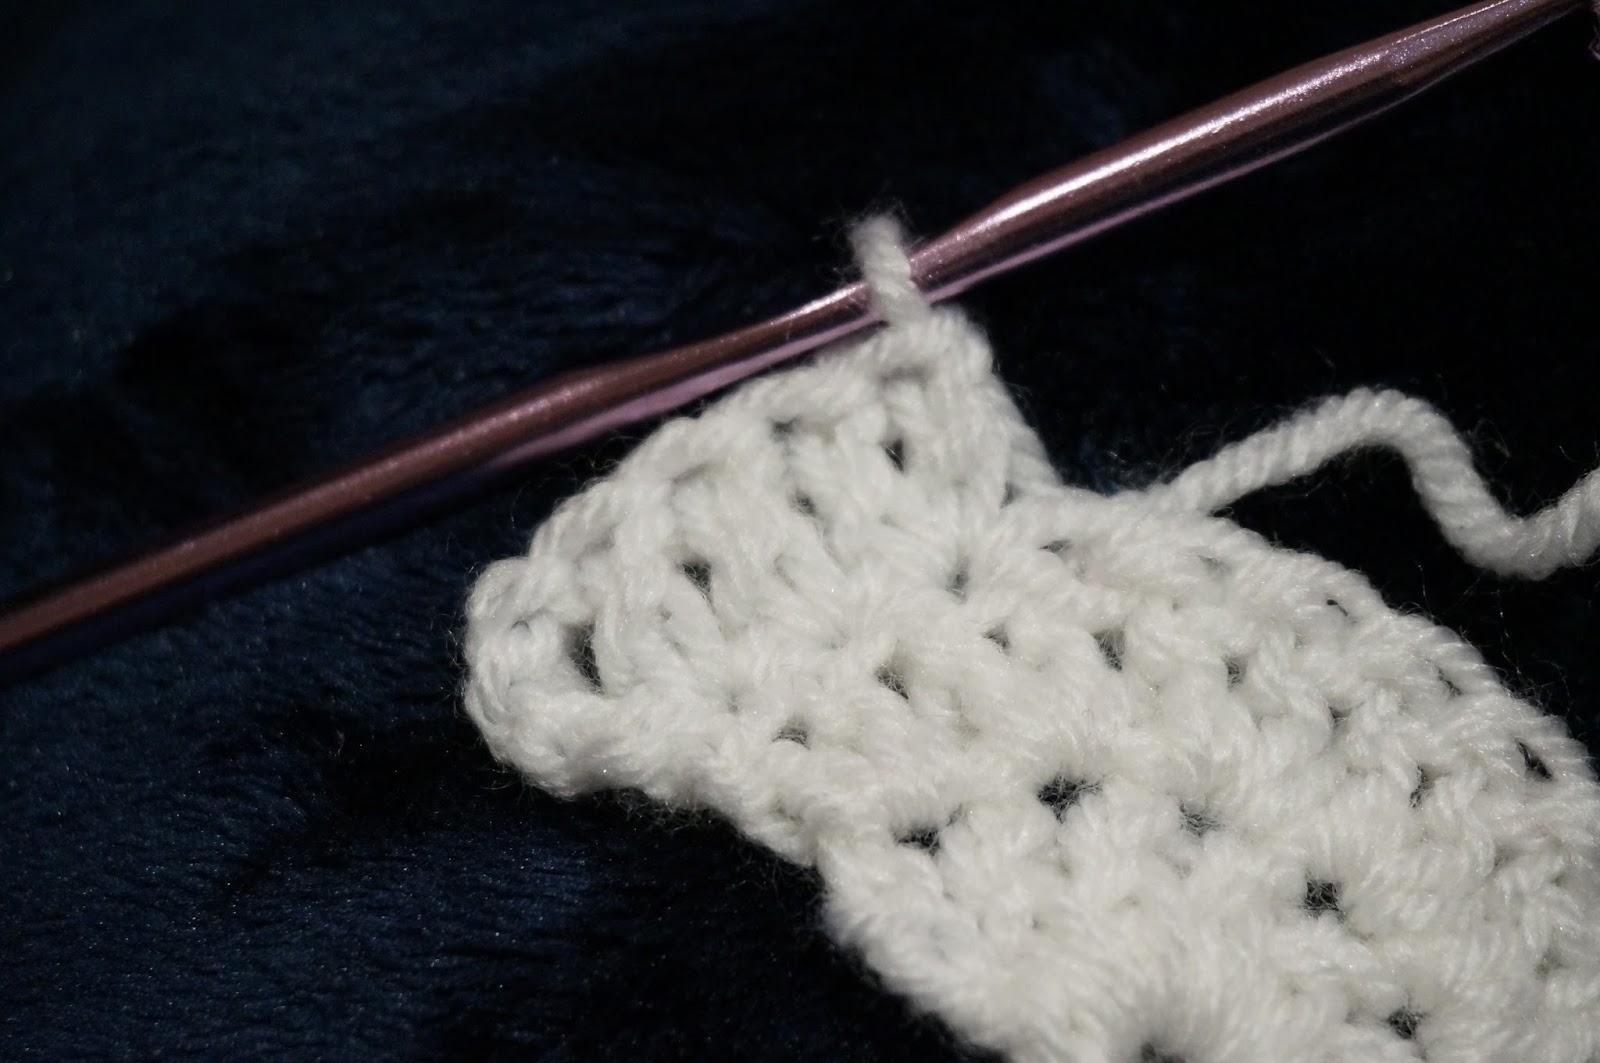
Chain 6. Slip stitch in the first chain from the hook to form a circle.
Row1 : Chain 3, 8 double crochet in the circle.
Row2 : Chain3, 1 double crochet in the same stitch as chain 3, 2 DC in each of the next stitches.
Row3 : chain3, 1 dc in the same stitch as chain 3, (1dc in the next stitch, 2dc in the following stitch, 1dc in the next stitch) repeat till end of the row.
Row 4 : chain3, 1dc in the same stitch as chain 3, ( 1dc in each of the next 2 stitches, 2dc in the next stitch) repeat till end of the row.
Row5 till obtaining required size keep increasing the single dc in each row by 1.


hello you might want to review step four as is does not mention 2 DC in the stitch after the first two stitches with 1 DC
ReplyDeleteYou are right, thank you anonymous for the note, appreciated :)
DeleteI love this pattern on your instructions are excellent. Just one suggestion – if you could put the number of stitches to be expected at the end of each row that would be really helpful. Want to make sure I'm getting it right.
ReplyDeleteThx for your comment and suggestion, I will surely try and do that in my futur patterns :)
DeleteI do not understand your row 5 is it the same as row 4 for the rest of the circle?
ReplyDeleteHi Carol, like Margarita explained, you just need to increase the DC in every row by one,
DeleteRow5: 3 single DC
Row6: 4 single DC
Row7: 5 single DC and so on.
Hi Carol, I think you would increase row 5 like so. One single dc in the next 3 stitches, then 2 dc in the next stitch. Following that, row 6 would then be one single dc in the next 4 stitches, 2 dc in the next stitch? It's similar to the increase of the basic beanie crochet pattern. I hope that helped. Happy crochet!
ReplyDeletedo you keep increasing forever till end of project
ReplyDeletethe single crochet or do you just do that until end of like row 5 then continue with dc rest of way?
Yes, you keep increasing the single dc until the end of your project to keep it flat :)
DeleteHi, could you rewrite the pattern for this please? Thank you!
ReplyDelete